When addressing drivetrain maintenance, attention often focuses on major components, yet critical seals play an equally vital role in system integrity. After The Transfer Case Oil Seal is replaced, a systematic approach ensures long-term performance and prevents recurring issues. The installation itself is only one part of the procedure. A comprehensive post-replacement protocol is essential for vehicle reliability.
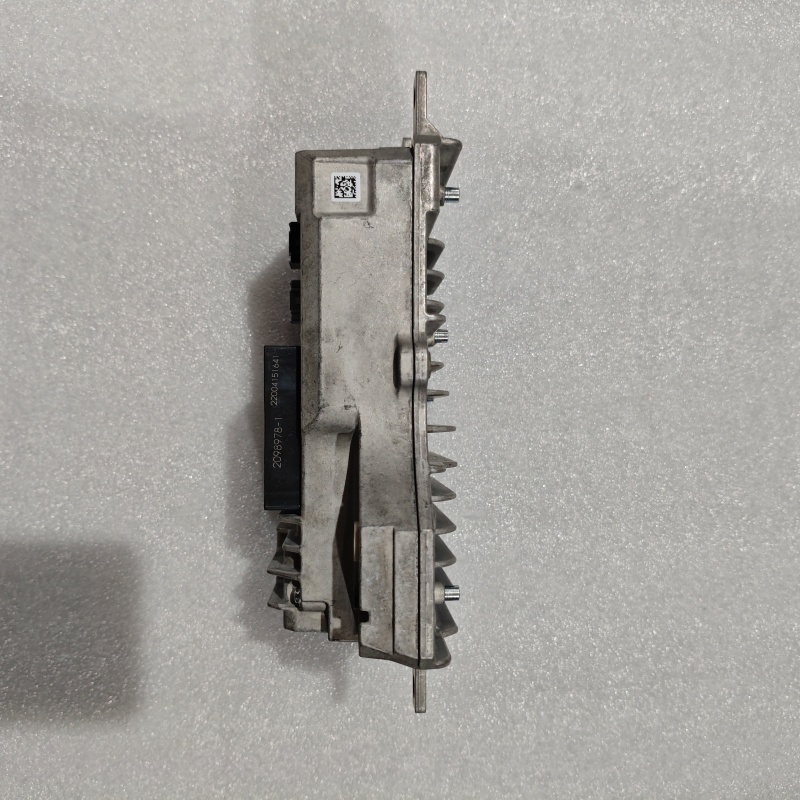
Following the seal installation, the first critical step is refilling the transfer case with the manufacturer-specified fluid type and exact quantity. Contaminated or incorrect fluid can compromise the new seal prematurely. It is imperative to check for leaks after the vehicle has been run to operating temperature and cycled through different gears, allowing internal pressures to stabilize. A thorough inspection of the mating surfaces on the output shaft for any scoring or wear is also recommended; a damaged shaft can quickly destroy a new seal.
Furthermore, the surrounding components should be examined. This includes checking the breather vent for blockages, as excessive internal pressure is a common cause of seal failure. Ensuring the companion flange or yoke is properly seated and torqued eliminates potential vibration that could lead to a premature leak. A short test drive, followed by a final visual inspection, confirms a successful repair.
Ultimately, the work performed after the transfer case oil seal installation determines its longevity. Proper fluid service, meticulous leak verification, and attention to related components transform a simple part replacement into a durable repair. This holistic process protects your investment in the new seal and safeguards the entire transfer case unit from avoidable damage, ensuring continued power delivery to all wheels.