When servicing your vehicle, a task you may encounter is to Remove The Right Rear Door Lock. This procedure is necessary for addressing issues such as a faulty lock actuator, a broken key cylinder, or general door mechanism repairs. While the specific steps can vary by make and model, the following general guide outlines the common process to ensure a safe and effective removal.
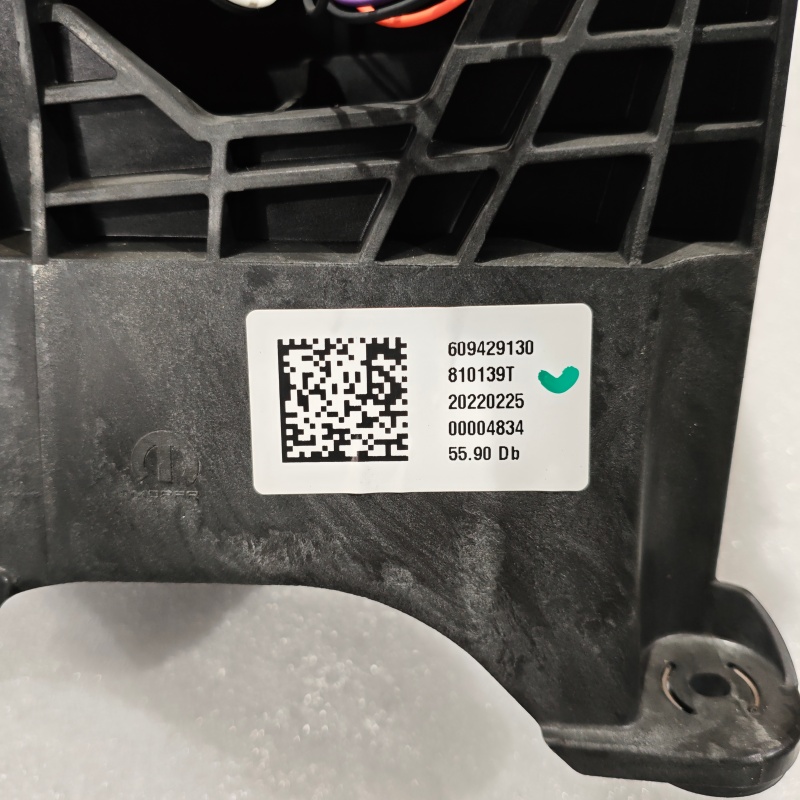
First, ensure the vehicle is parked on a level surface with the ignition off. Disconnect the negative terminal of the battery as a safety precaution to prevent electrical shorts. Next, carefully remove the interior door panel from the right rear door. This typically involves taking out screws, gently prying off trim clips, and disconnecting any wiring harnesses for window switches or speakers. Once the panel is removed, you will see a protective moisture barrier; peel this back to access the internal door cavity.
Locate the door lock assembly mounted within the door shell. It will be connected to the exterior door handle via a rod and linked to the interior locking mechanism. You will also find an electrical connector if the vehicle has power locks. Carefully disconnect this connector. Then, detach any linkage rods or cables from the lock module, noting their positions for reassembly. Finally, remove the bolts or screws that secure the lock assembly to the door frame. Maneuver the unit out through the access holes in the door. With the old unit removed, you can proceed to install the replacement part, following these steps in reverse order. Always consult your vehicle’s specific service manual for detailed instructions and torque specifications.