Pump Lower Cover Gasket Removal
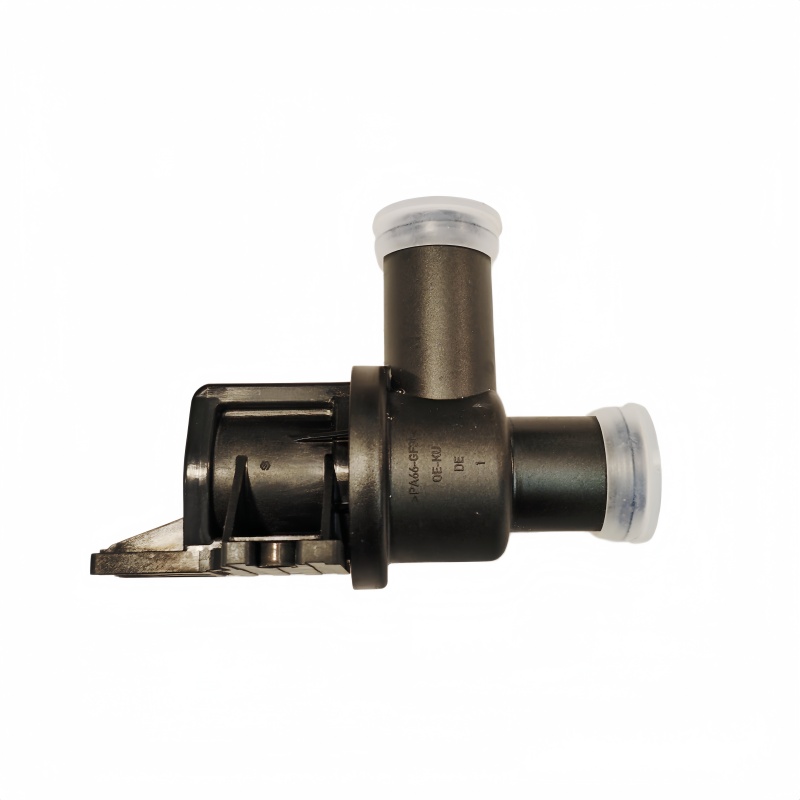
The process of Pump Lower Cover Gasket Removal is a fundamental step in many automotive repair and maintenance procedures, particularly for water pumps, oil pumps, or certain fuel pump assemblies. This gasket is crucial for creating a tight seal between the pump’s lower cover or housing and its main body, preventing fluid leaks and ensuring proper system pressure. When this gasket fails, evidenced by leaks or a loss of pressure, its careful removal becomes necessary for a successful repair.
Before beginning removal, ensure the vehicle is cool, the battery is disconnected if necessary, and the relevant fluid system is safely drained according to manufacturer specifications. Once the pump assembly is accessed and the lower cover mounting bolts are removed, the cover itself may require gentle persuasion to separate from the main housing, often due to the sealant properties of the old gasket. Avoid using excessive force or prying tools that can damage the machined sealing surfaces.
The core task of Pump Lower Cover Gasket Removal involves meticulously scraping away all remnants of the old gasket material. Use a plastic or wooden gasket scraper to avoid gouging the soft metal surfaces of the pump and cover. It is imperative to remove every trace of old material, including any hardened sealant, to ensure the new gasket will seat perfectly. After removal, thoroughly clean both mating surfaces with a suitable solvent and ensure they are completely dry and free of debris. This meticulous preparation guarantees the new gasket will form an optimal seal, restoring the pump’s integrity and preventing premature failure. Always consult your vehicle’s service manual for model-specific instructions and torque specifications for reassembly.