Left Rearview Mirror Disassembly is a precise procedure often required for replacement, repair, or painting. Before beginning, ensure the vehicle is parked on a level surface with the ignition turned off. The process typically starts inside the vehicle. Carefully pry off the triangular interior trim panel located at the front of the door frame, near the mirror base. This panel is usually secured by plastic clips; use a trim removal tool to avoid damage. Once removed, you will gain access to the mirror’s electrical connector and mounting hardware.
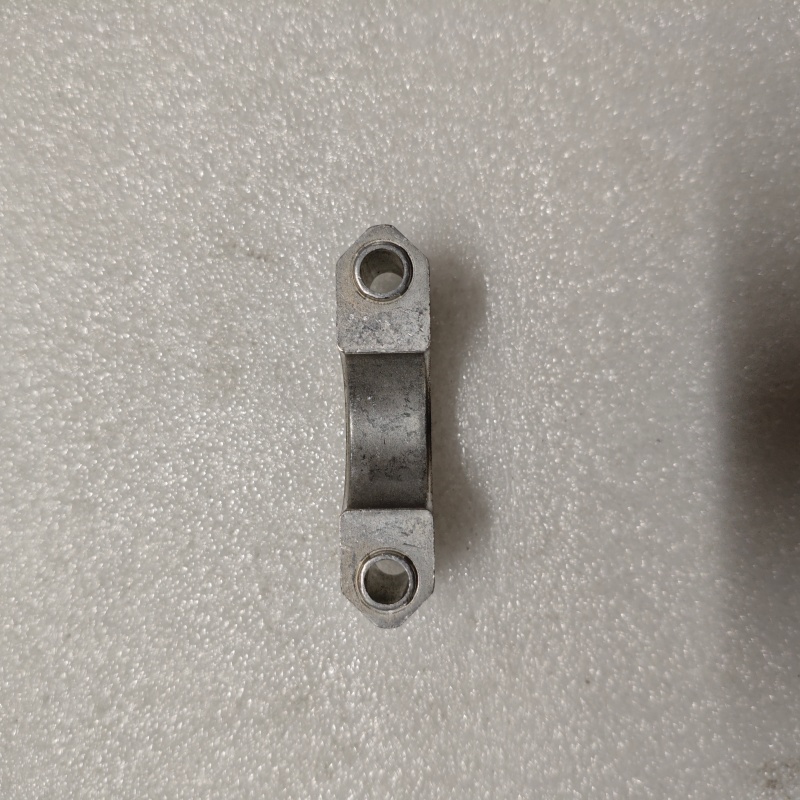
Disconnect the electrical connector by pressing the release tab and pulling it apart. This deactivates the mirror’s adjustment motor, turn signal indicator, and heating element (if equipped). Next, locate and remove the three mounting nuts that secure the mirror assembly to the door from the inside. These nuts are commonly 10mm or 8mm in size. After removing the nuts, the entire mirror assembly can be carefully maneuvered and detached from the exterior of the door. Guide it out, ensuring the wiring harness is fully free.
For complete disassembly into individual components, the mirror glass must be removed. Tilt the glass inward manually to its maximum angle to expose the retaining clips or a backing plate behind it. Using appropriate tools, gently release the clips or unbolt the plate. The glass can then be lifted off. Further disassembly may involve separating the mirror housing halves, which are typically joined by screws and plastic snaps. Always keep track of all screws, bolts, and small components. This systematic approach ensures a safe and organized Left Rearview Mirror Disassembly, preparing the unit for servicing or facilitating the correct installation of a new replacement assembly.