PCV Hose Removal And Replacement is a fundamental maintenance task for ensuring optimal engine performance and longevity. The Positive Crankcase Ventilation (PCV) hose plays a critical role in routing harmful blow-by gases from the crankcase back into the intake manifold to be burned off during combustion. Over time, this hose is subjected to intense heat and oil vapors, leading to common failures such as cracking, hardening, softening, or complete disintegration. A faulty PCV hose can cause vacuum leaks, resulting in a rough idle, increased oil consumption, elevated emissions, and potentially sludge buildup within the engine.
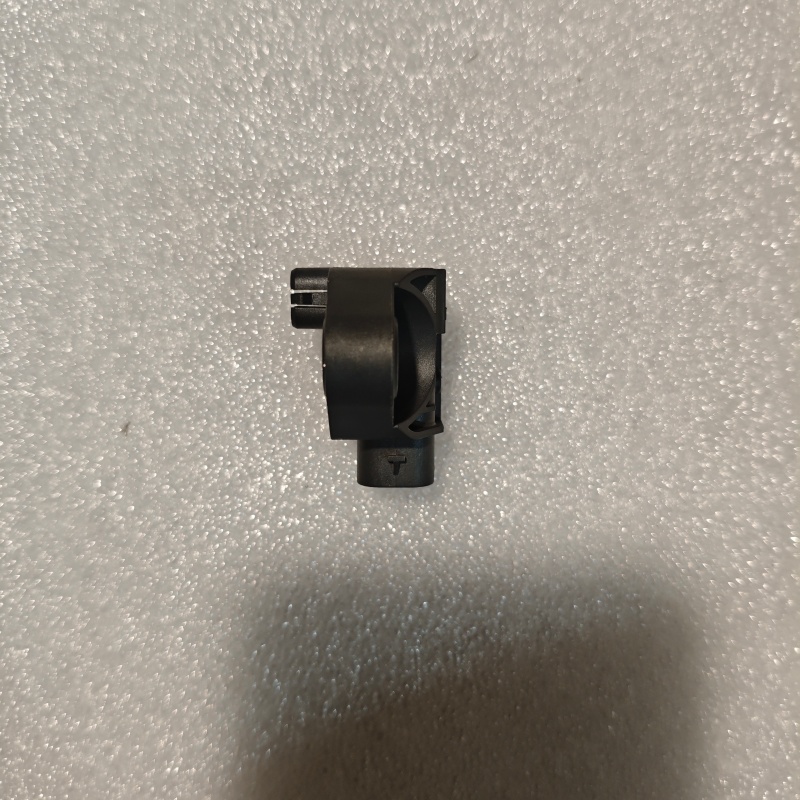
The removal process typically begins by locating the hose, which connects the PCV valve (often on the valve cover) to the intake manifold or air intake assembly. It is crucial to ensure the engine is cool. Carefully loosen the hose clamps at both ends using appropriate tools like screwdrivers or pliers. The hose may be stuck due to heat; gently twisting it can help break the seal. Avoid using excessive force on surrounding components. Once clamps are loose, detach the hose from both fittings.
Before installing the new hose, inspect the PCV valve and the connecting nipples for any damage or clogging, cleaning or replacing them as necessary. Slide the new clamps onto the new hose, then attach the hose to both fittings securely. Ensure the hose is routed correctly without sharp bends or kinks to prevent premature wear. Tighten the clamps firmly to create a proper seal but avoid overtightening, which can damage the hose. Finally, start the engine and check for any vacuum leaks around the connections, listening for hissing sounds or using a spray designed for leak detection. Performing this maintenance with a quality replacement hose restores the PCV system’s function, protecting your engine’s health and efficiency.