Read The Light Guide – Left
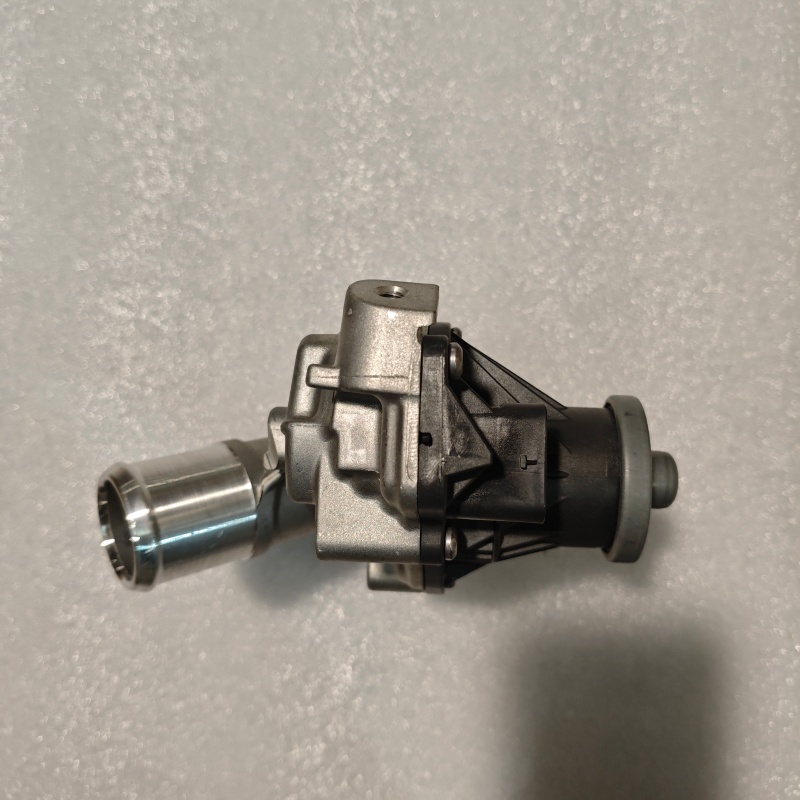
Proper installation is the key to unlocking the full performance and safety benefits of your new automotive lighting component. This guide, specifically for the left-side assembly, provides the essential steps to ensure a correct and secure fit for your vehicle.
Before beginning, please ensure the vehicle is parked on a level surface with the ignition turned off. Gather all necessary tools as listed in the packaging. Carefully remove the existing lighting assembly by following the reverse of the installation steps. Take a moment to compare the new unit with the old one, confirming the part number and orientation.
The core instructions focus on the connector alignment and housing engagement. Gently connect the vehicle’s wiring harness to the port on the back of the new light guide, listening for a definitive click to confirm a weatherproof seal. Position the unit into the vehicle’s housing, applying even pressure around the edges until it sits flush. Secure it using the provided fasteners, tightening them evenly to avoid stress cracks. A final, crucial step is to test the functionality before finalizing the installation. Temporarily turn on the vehicle’s ignition and activate the relevant lights (e.g., turn signal, daytime running light) to confirm optimal operation.
For a seamless process and to avoid any potential damage, it is imperative to Read The Light Guide – Left thoroughly before and during your installation. This document contains vehicle-specific diagrams, torque specifications for fasteners, and important warnings. Following these instructions precisely guarantees a perfect fit, maintains the integrity of the waterproof seals, and ensures your lighting system performs as designed for enhanced visibility and safety on the road.